Mastering the Art of Timelapse Photography: How to Make Timelapse from Photos
Timelapse photography is a captivating genre that allows us to condense hours, days, or even months of action into a short, dynamic sequence. It transforms the ordinary flow of time into something extraordinary, providing viewers with a unique perspective. In this guide, we will explore the steps, tools, and techniques you can use to make timelapse from photos. Whether you are a budding photographer or an experienced professional, this article will equip you with the skills needed to create stunning timelapse videos.
Understanding Timelapse Photography
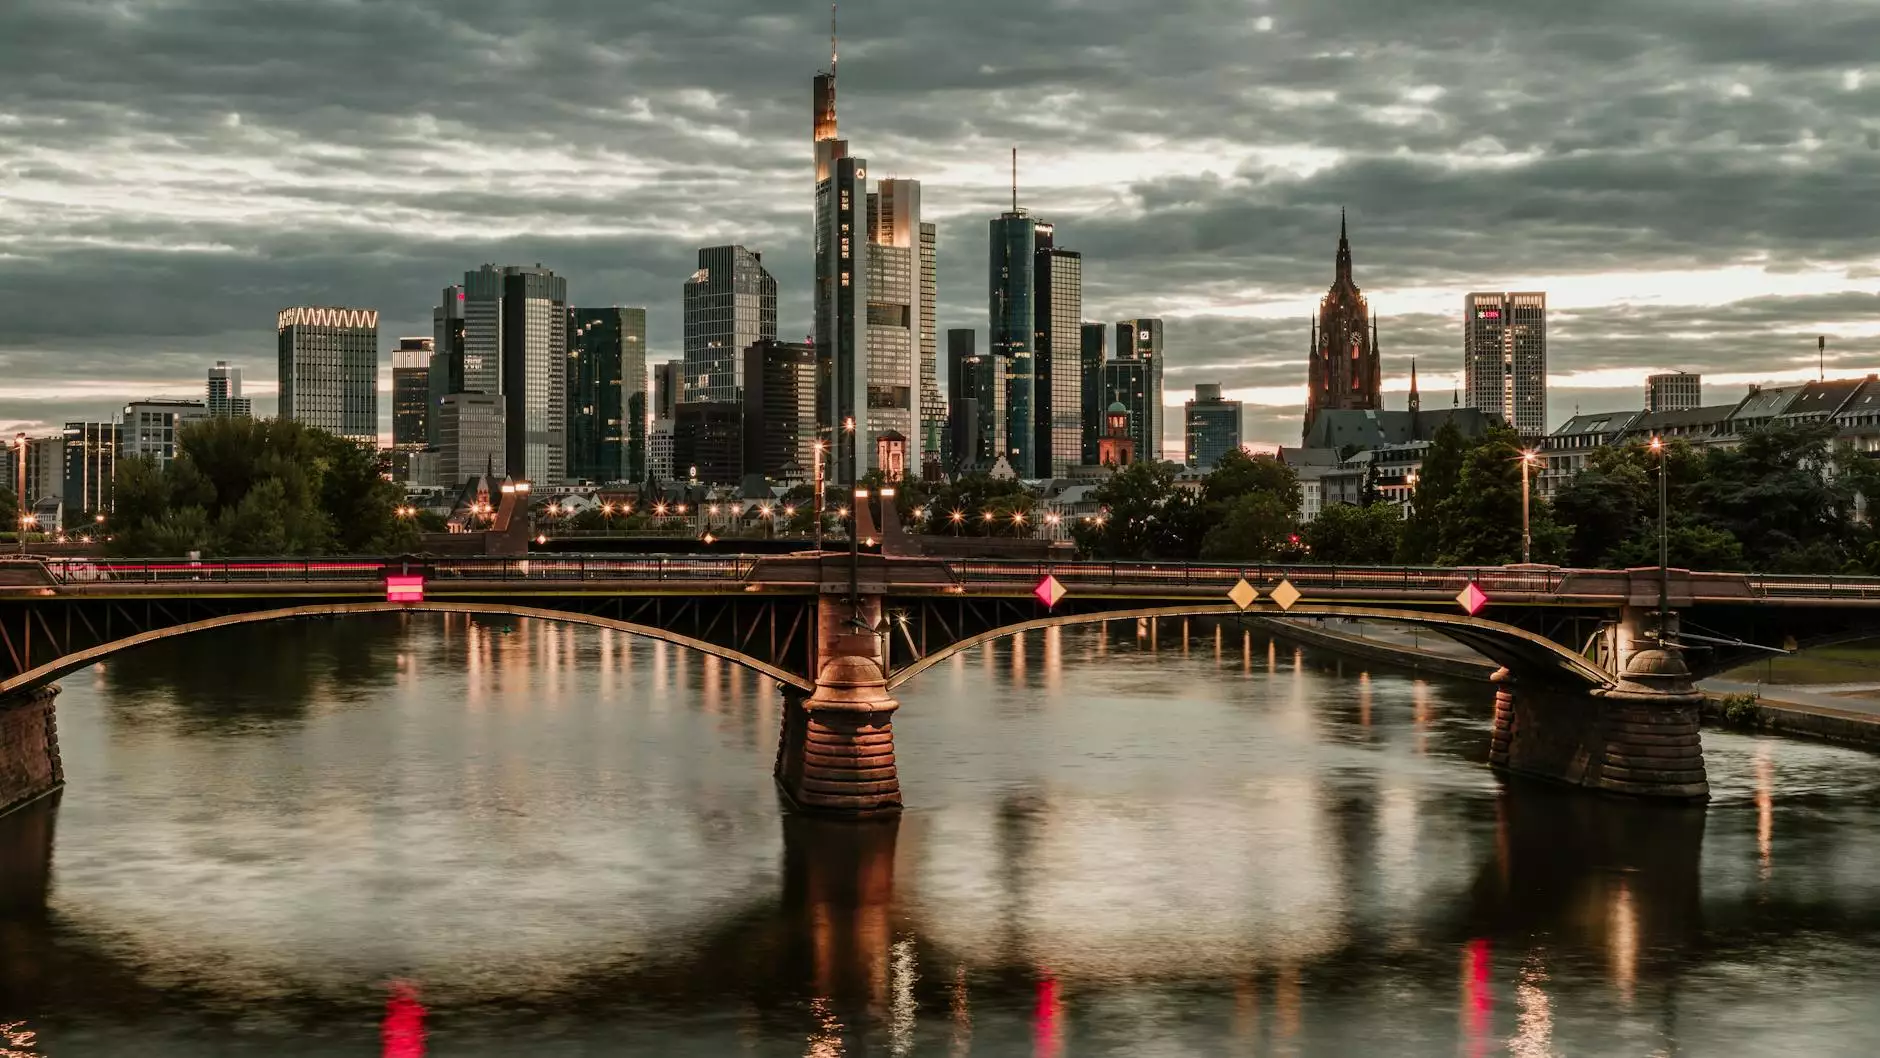
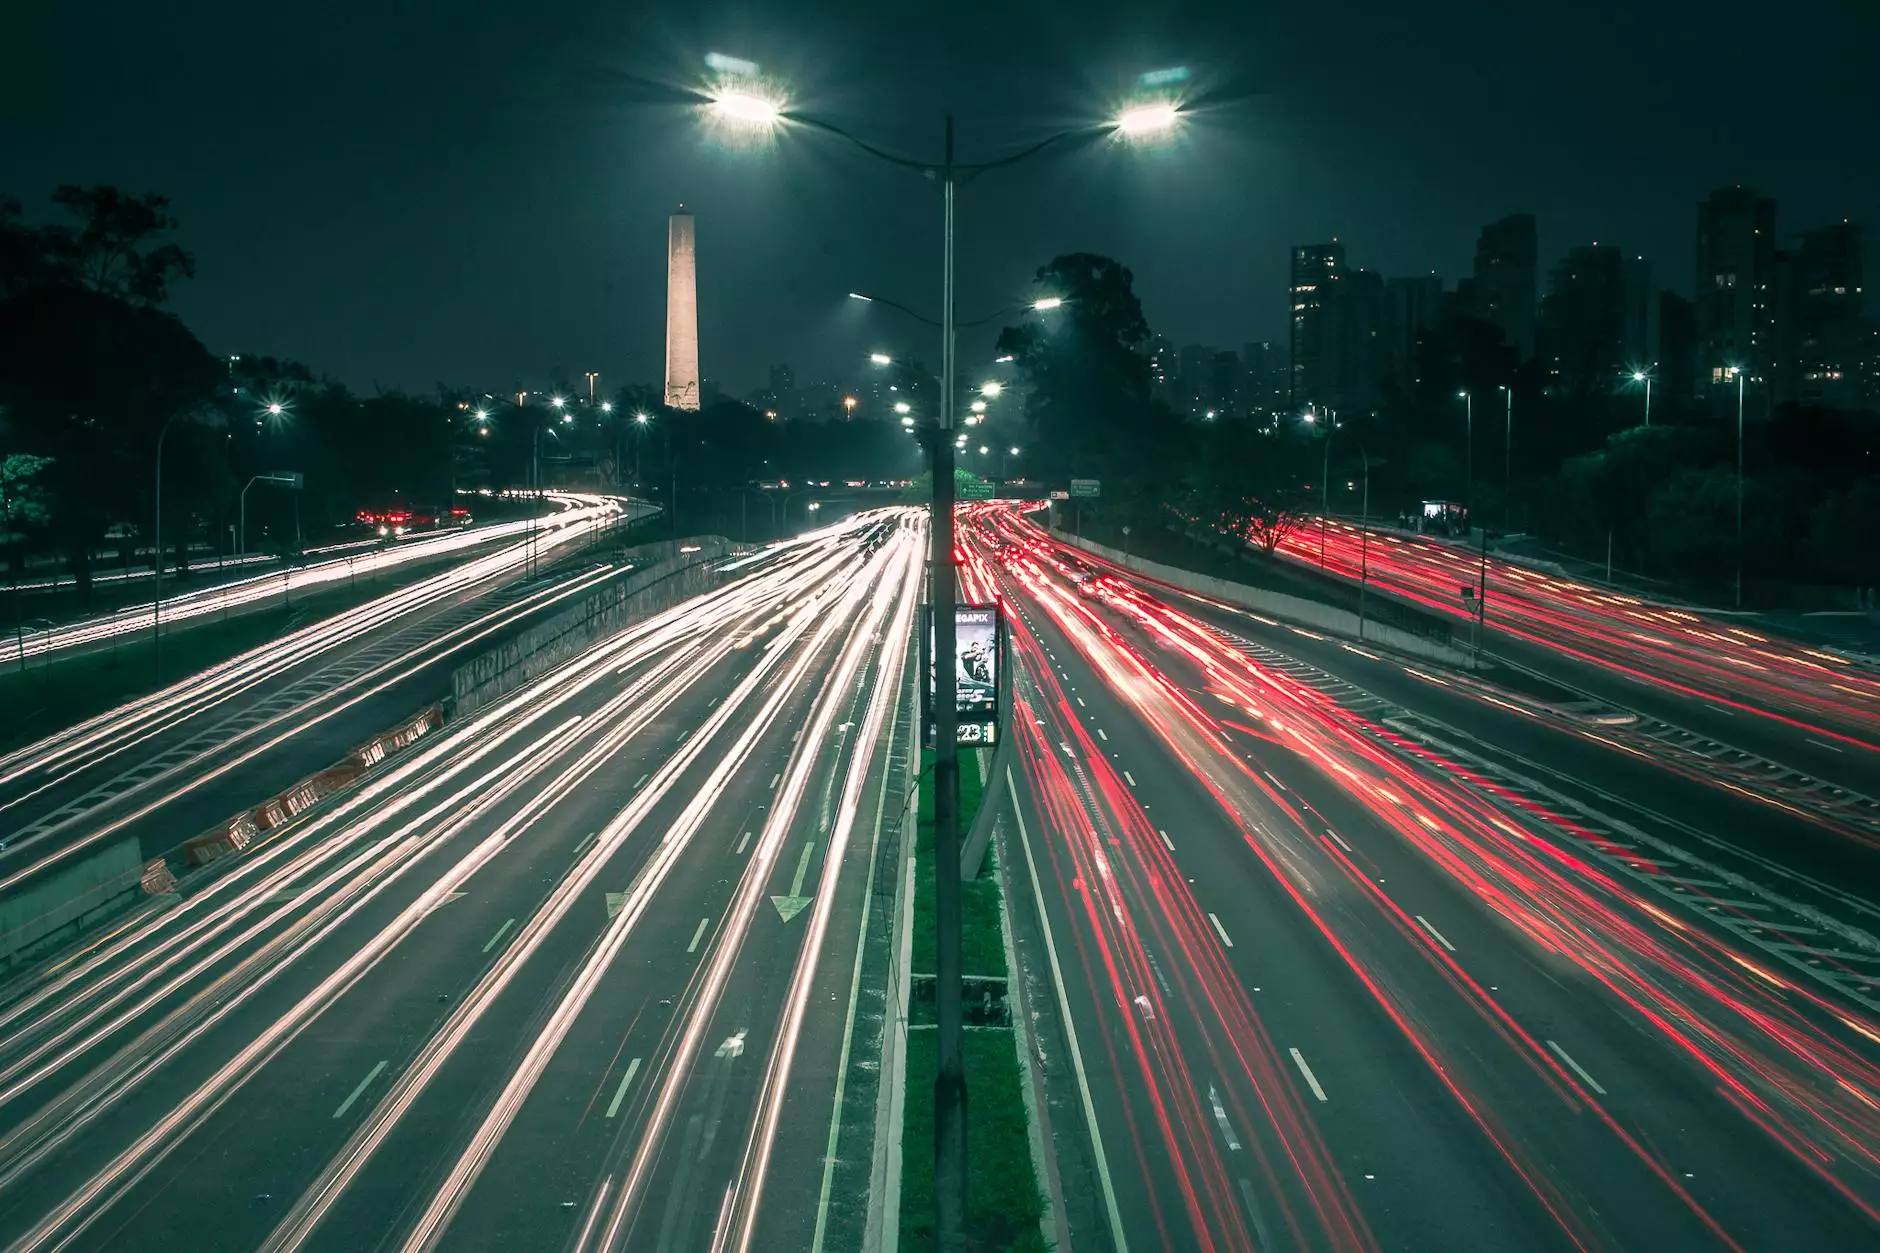
Timelapse photography involves capturing a series of images at set intervals over a period of time. When played in sequence at a standard video frame rate, these images produce a mesmerizing effect that reveals changes that occur too slowly for the eye to appreciate. From blooming flowers to bustling cityscapes, the subjects of timelapse are as varied as they are inspiring.
The Benefits of Creating Timelapse Videos
Engaging in timelapse photography offers numerous benefits, including:
- Enhanced Storytelling: Timelapse effectively tells a story by showcasing the passage of time in a visual manner.
- Creative Expression: This approach gives photographers the freedom to experiment with various techniques and subjects.
- Increased Engagement: Timelapse videos often capture more attention than standard videos, making them effective for marketing and social media.
- Technical Skill Development: Working with timelapse can improve your photographic and video editing skills.
Essential Gear for Timelapse Photography
Before diving into how to make timelapse from photos, it’s essential to have the right equipment. Here’s what you’ll need:
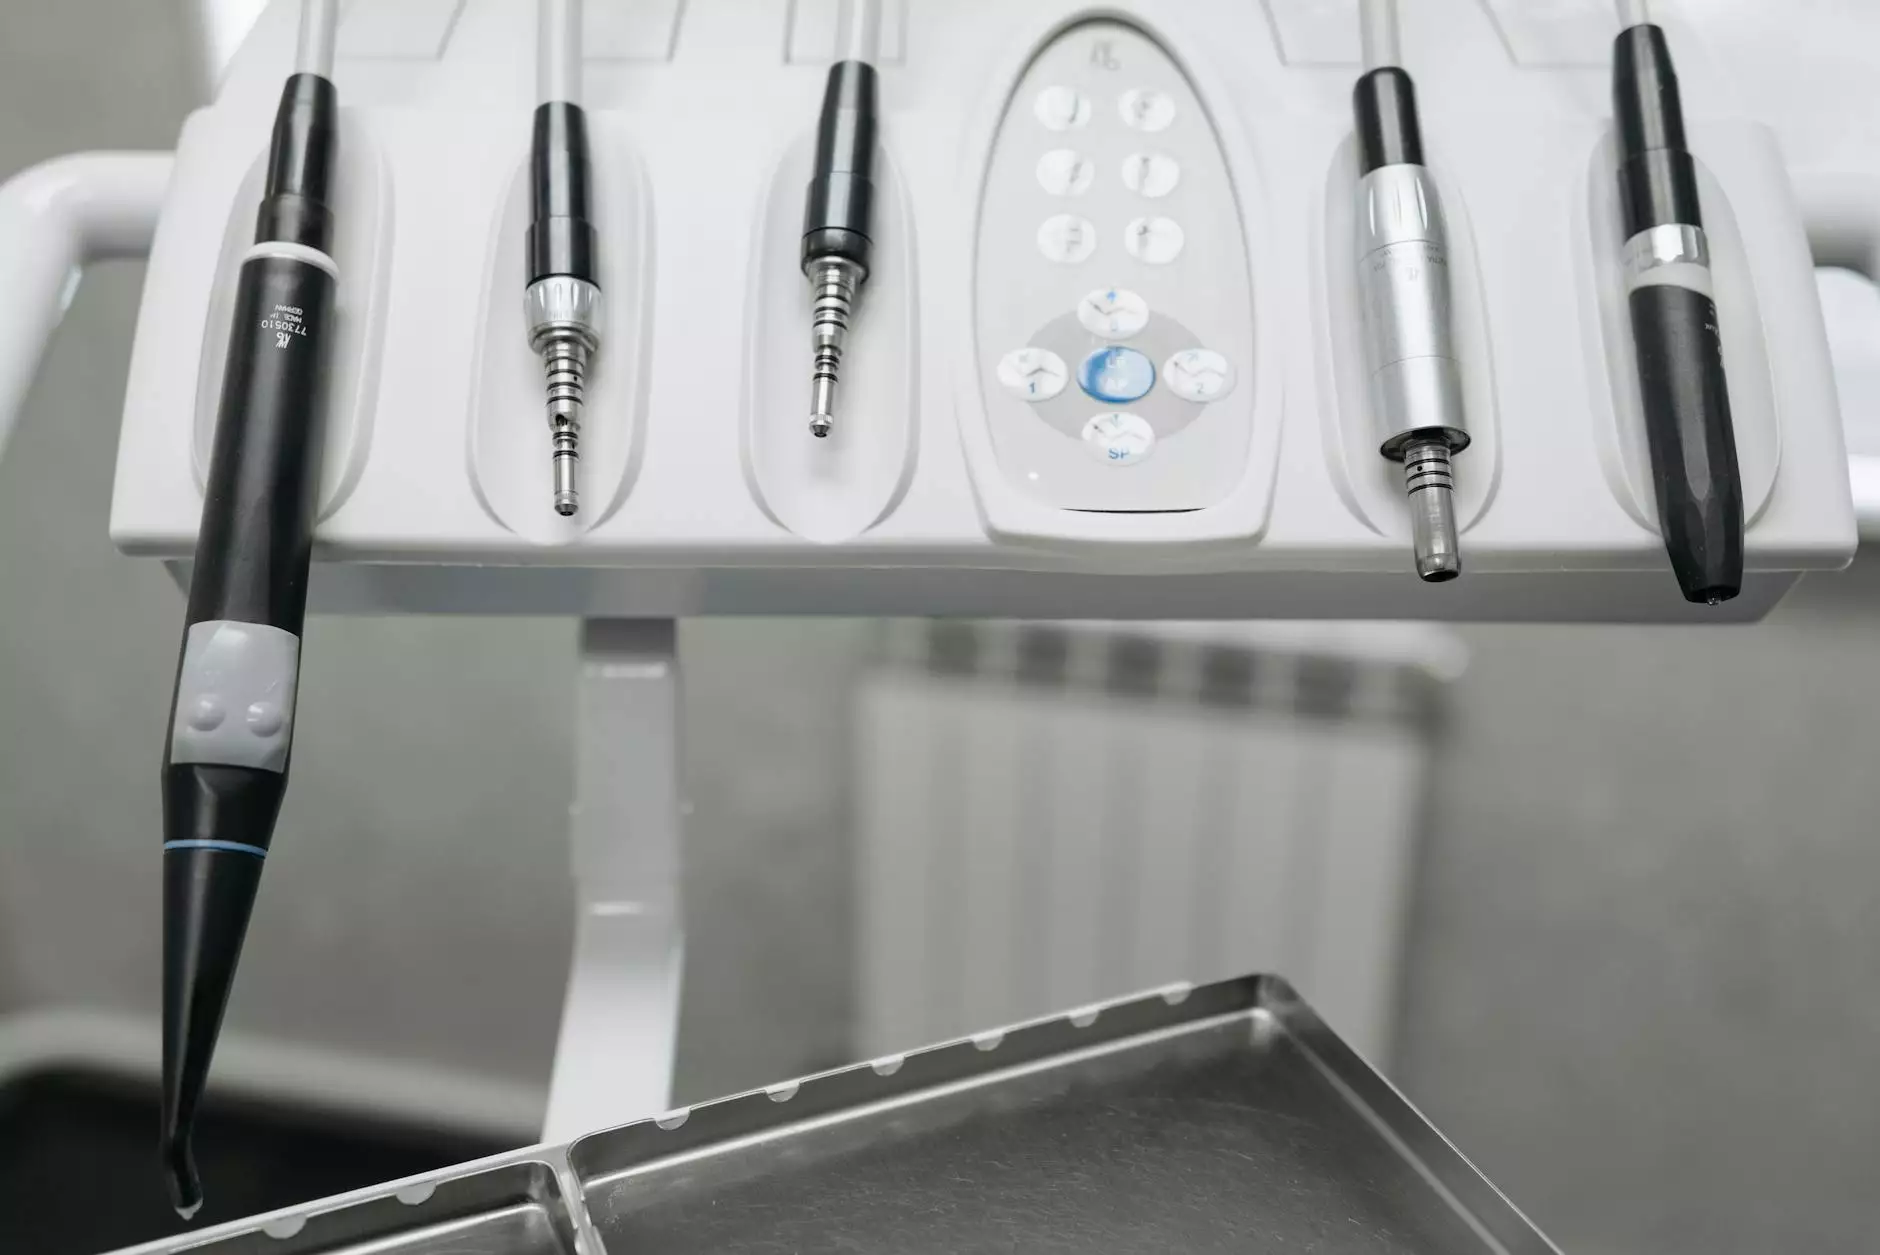
1. Camera
Any camera can be used for timelapse photography, but a DSLR or mirrorless camera is ideal for quality and control. Look for cameras with manual settings to allow control over exposure, shutter speed, and more.
2. Tripod
A sturdy tripod is crucial for maintaining a consistent frame throughout your timelapse. Stability eliminates unwanted movement and ensures your images are sharp.
3. Intervalometer
While some cameras have built-in timelapse modes, an intervalometer allows you to set specific intervals for capturing photos over time. This device is a game-changer for precision and flexibility.
4. Editing Software
Once your photos are captured, you’ll need editing software to compile your images into a timelapse video. Options include Adobe Premiere Pro, Final Cut Pro, or more accessible tools like iMovie and Windows Movie Maker.
Step-by-Step Guide to Make Timelapse from Photos
Step 1: Choose Your Subject Wisely
Select a subject that showcases change over time. Popular choices include:
- Natural Landscapes: Clouds moving, sunrises, and sunsets.
- Urban Environments: Busy streets, traffic, and construction sites.
- Flora: Flowers blooming or plants growing.
Step 2: Determine the Timeframe and Duration
Plan how long you will shoot and the overall duration of the final product. If you want a 30-second video at 24 frames per second, you’ll need around 720 photos. Decide how frequently you’ll take the images, e.g., every 2 seconds, once per minute, etc.
Step 3: Set Up Your Camera
Once you’ve chosen your subject and planned your shoot, it’s time to set up your camera settings:
- Use Manual Mode: This allows you to control exposure without fluctuations affecting your timelapse.
- Set Your Aperture: A small aperture (larger f-number) can help keep more of your scene in focus.
- ISO Settings: Use the lowest ISO setting for better image quality, adjusting as necessary based on light conditions.
- Focus: Manually focus on your subject and avoid changing it during the shoot.
Step 4: Capture the Images
Using your intervalometer, let your camera do its magic. Make sure to regularly check battery life and memory card space. Depending on your subject and timeframe, you may be shooting for hours or even days.
Step 5: Edit Your Photos
After you have captured your images, it’s time to edit them. Follow these steps:
- Import Your Photos: Use your chosen editing software to import all the images.
- Adjust Settings: Tweak lightness, contrast, and colors across all photos for a cohesive look.
- Set Frame Rate: Define the frame rate for your video, typically between 24 to 30 frames per second.
- Add Transition Effects: If desired, include transitions, music, and text overlays to enhance your timelapse.
Step 6: Export Your Timelapse Video
Finally, export your timelapse video in a format suitable for sharing online or for personal use. Common formats include MP4 or MOV for better compatibility.
Advanced Tips for Stunning Timelapse Videos
1. Consider Lighting
Lighting plays a crucial role in photography. Early mornings or late afternoons provide one of the best lighting conditions (the golden hour). Avoid shooting in harsh midday light unless that is the desired effect.
2. Plan for Weather Changes
Weather can dramatically impact your timelapse. Always have a backup plan and be prepared to adjust your shooting schedule based on weather conditions.
3. Experiment with Different Techniques
Don’t be afraid to try various settings, angles, and subjects. Techniques like hyperlapse can add dynamic movement to your timelapse by shifting angles as you capture images.
4. Keep Your Gear Secure
Use protective gear for your camera, especially in outdoor environments. A sturdy bag and weatherproof casing can prevent damage.
Where to Use Your Timelapse Videos
Once you have successfully learned how to make timelapse from photos, it’s time to share your work. Consider these platforms:
- Social Media: Share your timelapse videos on platforms like Instagram, Facebook, or TikTok to reach a wider audience.
- Your Portfolio: Enhance your photography portfolio by including your timelapse work, showcasing your versatility.
- Real Estate Photography: Use timelapse to highlight property developments or landscape changes over time to attract potential buyers.
- Content Creation: Share your creation in blogs or websites to provide engaging visual content for readers.
Conclusion: Transforming Moments into Art
In summary, learning to make timelapse from photos opens a world of possibilities within photography and video creativity. With the right gear, techniques, and knowledge, you can create awe-inspiring visuals that transport viewers through time. Embrace your creativity, refine your skills, and enjoy the process of capturing the beauty of change.
For more tips, techniques, and inspiration related to photography and videography, visit bonomotion.com.